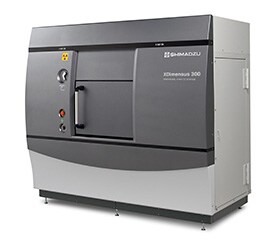
Reduction in the Number of Operations for Dimensional Measurement of Complex Molded Products
—Application to Reverse Engineering Using a Dimensional X-Ray CT System—
The complexity of the various products used in automobiles increases the number of products that are difficult to measure using a contact type three-dimensional coordinate measuring machine (CMM) with a probe or an optical non-contact type of CMM.
Dimensional measurement is performed after dismantling or breaking down these products, which requires significant time and effort. Dimensional X-ray CT systems have been attracting attention in response to the need to measure both the internal and external dimensions of a part as it is. In addition, in recent years, the use of dimensional and shape measurement data of the inside and outside of a sample to enable reverse engineering by feeding the data back into the design and manufacturing processes has begun. 3D printers that can form complex shapes both inside and outside are becoming more common, so the importance of measurements inside objects has become even greater.
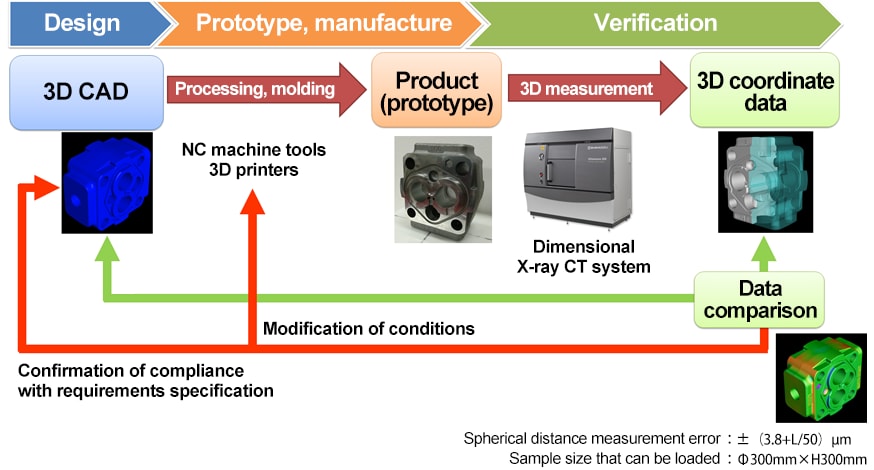
3D Dimensional Measurement Using a Dimensional X-Ray CT System
With a single measurement using a dimensional X-ray CT system, the entire object to be measured can be captured, so the number of measurement operations can be greatly reduced compared to other CMMs. Also, the sample color does not affect the measurement. Dimensional measurements can be performed on samples whether they are shiny, transparent, or milky white. The measurement is performed by fitting geometric elements to the extracted 3D surface. The number of fit points greatly exceeds that of contact type CMMs, so measurement can be performed unaffected by specific shape changes on a part of the surface. In addition to measurement, internal defect analysis and comparison of the shape with design values (3D CAD) can be performed. With shape-comparison measurements, it is possible to compare CT data. By performing registration using best fit or geometric elements as the reference, deviations in shape can be expressed as a color map. This technique is also expected to be used for multi-cavity molds for injection molding, to evaluate the comparison of shapes of each molded article, and to evaluate the degradation of molds with time.
Aluminum Die-Casting
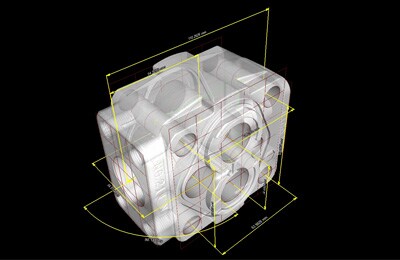
3D Dimensional Measurement
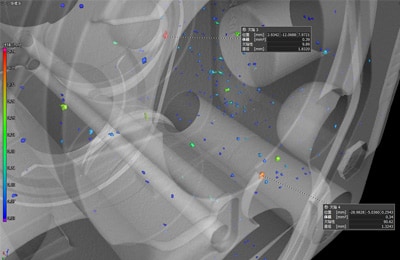
Internal Defect Analysis
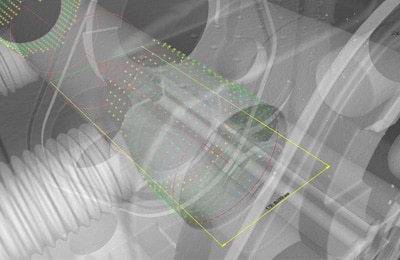
3D Dimensional Measurement
(Geometric Shape (Cylinder) Fitting)
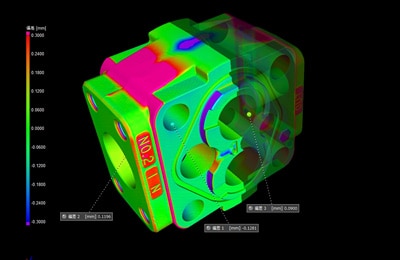
Shape Measurement Comparison
with Design Values (3D CAD)
Plastic Moldings
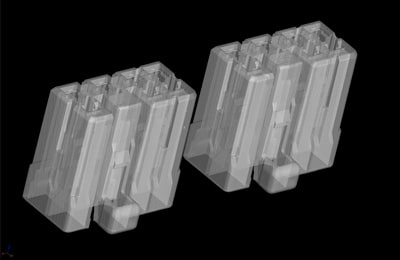
Surface Data
(Images of products from the same mold taken at the same time)
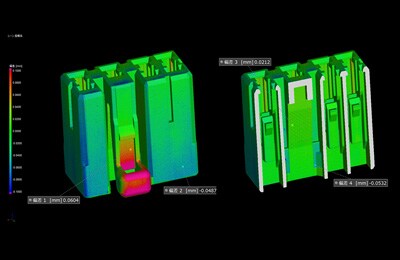
Shape Measurement Comparison of CT Data
Here are the major points!
- Achieves the highest level of measurement accuracy in Japan for a dimensional X-ray CT system.
- Enables 3D dimensional measurement at the same time as analysis of internal defects.
- Enables the internal and external shape of the sample to be obtained and fed back into design.


